All of our varieties of Early, Second Early and Maincrop seed potatoes have arrived. With several varieties to choose from there should be something for every taste.
If you’re just starting out growing potatoes, why not try one of our seed potatoes Taster Packs!
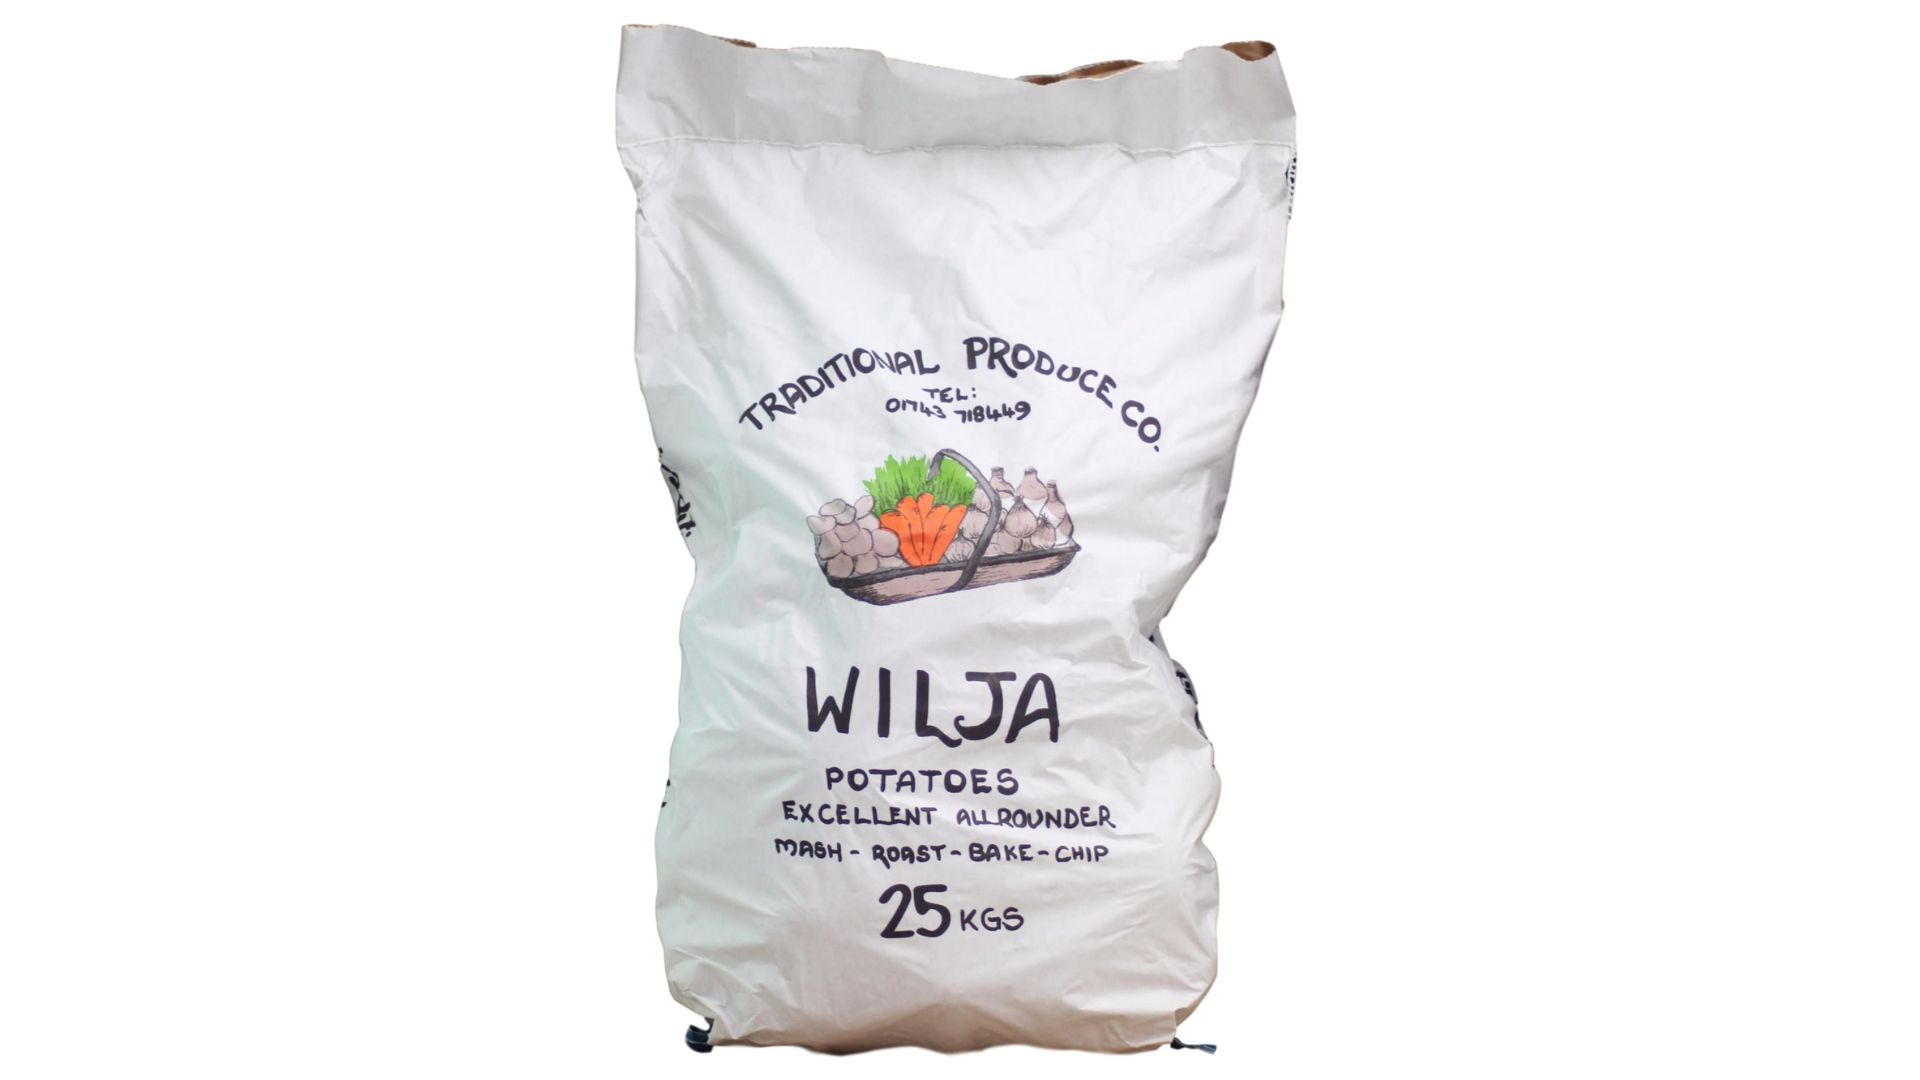
2kg Bags – 14 Varieties – £3.99
Recent years have seen a boom in grow your own potatoes – they’re easy and rewarding to grow and really versatile in the kitchen.
There are a vast amount of varieties of seed potatoes available to cater for every culinary need, and by staggering your planting of your seed potatoes you can prolong your harvest period from May, all the way up until November.
Potatoes are grown from small tubers called ‘seed potatoes’, which look like small, soft potatoes which sometimes have ‘eyes’ on. These are the spots from where the green stems grow.
There are four main types of seed potatoes available:
Salad potatoes: Known for their firm, waxy flesh and unique flavour, these are ready relatively early in the season.
First Earlies: These are the very first potatoes to be ready in the year, maturing from as early as May when planted in February. These are often known as ‘new potatoes’.
Second Earlies: These follow-on from the first-earlies and are usually ready to harvest from June as well as being suitable for storing until August.
Main crop: Ready to be lifted from September to October, these can be eaten straight away or stored for up to three months.
Tips on Growing Seed Potatoes
Preparing Potatoes
To get your potatoes off to a flying start it is often recommended that you ‘chit’ them before planting. This allows stumpy but strong chits (sprouts) to develop on the tubers before planting. Whilst this process is not essential for main crop varieties, it is strongly recommended for First Earlies and, to a lesser degree, for Salad varieties and Second Earlies.
To chit seed potatoes, place them just touching in a seed tray or individually in the sections of egg boxes. Make sure the ‘rose’ end (where most of the ‘eyes’ are) is at the top. It is these eyes that will form the chits. Place the trays in a cool, light frost-free environment at a temperature of about 7°C (45°F).
The aim of chitting is to produce plump, dark green or purple shoots about 2.5cm (1in) long. Thin, long white shoots are a sign of too much heat and not enough light. If shoots are slow to appear, about 3 weeks before planting move the tubers to a warmer position for a couple of weeks and then back to the original, cooler place for the final week.
Planting Potatoes
When to plant:
Salad potatoes: March – April
First Early potatoes: February – April
Second Early potatoes: March – May
Main Crop potatoes: March – May
Potatoes grow well in most soil types but ideally they should be grown in well-drained, loamy soil that is not too heavy. The soil needs to be deep, well dug and with plenty of well-rotted organic matter incorporated. The plot should be cleared and dug over in late autumn/early winter so that the frost can break down the soil structure, which will make for easy planting in the spring. Alternatively, you can successfully grow a good crop of potatoes in Gro-Sacks.
Ideally, potatoes should only be planted in the same part of the garden once every 7 years but, given that this is not practical for the vast majority of gardeners we recommend a minimum of 3 or 4 years.
Set the tubers in rows, either at the bottom of a ‘V’ shaped trench or in individual small holes made with a trowel. Many gardeners aim to have the rows running north-south as this allows the sun’s rays to warm both sides of the ridges.
First Earlies, Second Earlies and Salad varieties should be positioned 30cm apart and 10cm deep in rows 45cm (1 ½ ft) apart; Maincrop varieties should be spaced 40cm (16in) apart and 10cm (4in) deep in rows 60cm (2ft)apart.
As soon as shoots start to appear above the soil, it’s time to start ‘earthing up’ the rows. This means pulling soil over the shoots from either side of the row to form a ridge. This protects the plants from late frosts and prevents the tubers from becoming green and inedible. Repeat this regularly until the ridges are about 20cm high.
Feeding Potatoes
Planting in loamy soil will give the intital nutrients the seed potatoes require. Just before planting fork in a general purpose fertiliser like pre-planting potato feed.
After that you want to avoid fertiliser that is high in nitrogen which affect the maturity of the crop. An application of a high potash fertiliser at the rate suggested on the pack will increase yields, our Bio-Gro Black Gold fertiliser is ideal.
Watering Potatoes
Planting in loamy soil is also good for the underground potato crop. The loam crates a soil structure that keeps the soil moist. This is just as well, as potatoes are thirsty plants.
Potatoes need plenty of moisture, particularly round about flowering time which is when the tubers start to form. In dry spells it is recommended that the crop is watered every 10 days or so. An occasional heavy watering is better than little and often as this does not get down far enough and encourages shallow rooting.
Temperature for Potatoes
If you can grow your potatoes in a light, warm, sunny spot, where they’ll thrive especially if growing in rich, loamy soil.
Avoid planting in areas prone to frost. If you do hear there’s a frost due, cover the plants with a double layer of horticultural fleece to protect them. Blackened stems is a good sign growing potato plants have been pinched by frost. They can usually tolerate a one-off frost-attack, but certainly not anything more frequent.
Harvesting and Storing Potatoes
Harvest times depend on planting dates, weather and temperature at planting time, weather during the growing season, variety maturity and weather and temperature at harvest time.
First Earlies are best harvested in small quantities and eaten straightaway when fresh in April and May. Harvest when the potato flowers are open.
Second Earlies and Salad varieties can also be harvested in small quantities and eaten when fresh in June and July. Harvest when the potato flowers are open.
Maincrop varieties can be lifted from September onwards. Harvest once the leaves have yellowed, remove the leaves and harvest a week later. They can be stored as long as the potatoes themselves are lifted in dry conditions or are dried properly before being put away. Store in a hessian sackin a cool, dark, frost-free area.
Pests and Diseases of Potatoes
Potato Blight – Worst in warm, moist conditions from mid-summer onwards. Brownish black spots appear on leaves and stems and eventually spores from these spots can wash into the soil and effect the tubers. You can reduce risk by wide spacing or growing in Gro-Sacks, as this reduces the risk of infection from one plant to another. Remove and destroy effected leaves and leave the potatoes in the ground for three weeks before lifting, so that the spores on the soil surface die.
Potato Cyst Eelworm – This is a widespread problem in soil where potatoes are often grown. The plants’ growth is stunted and the leaves turn yellow and die. Your yield of potatoes will also be reduced. Unfortunately there isn’t a lot that can be done about eelworm, apart from to avoid growing potatoes in affected areas. One way of making sure you’re not planting potatoes in eelworm-affected ground is to plant them in Gro-Sacks with fresh compost.
Virus diseases – Potatoes are susceptible to several aphid-borne virus diseases. Leaves become mottled and the plants stunted. Any diseased plants should be lifted and destroyed. Preventative measures include: buying new seed rather than saving your own, bin old tubers instead of adding them to the compost heap.
Potato Blackleg – Leaves become pale and curly inwards and the stems begin to rot at the base. Affected plants should be dug up and destroyed.
Common Scab – Scabby areas develop on the potatoes themselves, but is mainly a cosmetic disease.
Slugs – slugs can eat the leaves which can stunt the growth of tubers under the ground. Keep the slugs at bay with Eraza Slug and Snail Killer.
cm (9in) high, start earthing up by carefully drawing soil up to the stems and covering to produce a flat-topped ridge about 15cm (6in) high. This can be done little and often or in one go.
Newly emerging foliage is susceptible to frost damage. You can prevent this by earthing up the soil around the shoots or by covering them with fleece.
It is also possible to grow them in large containers. Line the bottom 15cm (6in) of the container with potting compost and plant the seed tuber just below this. As the new stems start growing, keep adding compost until the container is full.
Keep crops well watered in dry weather.
A liquid feed of a balanced general fertiliser every fortnight can help increase yields.